Beef Rendang

Beef_rendang.jpg

Portion size: 15 (as accompaniment to boiled rice)
Prep and Cooking time: 3-4 hour

Tools:

Oven save Pan or cast iron casserole dish (with lid)
Food processor/ blender/ pestle and mortar (*)
Knife
Ladle

*) please be aware there are lots of ingredients so may take awhile if you choose to use pestle or mortar

Ingredients:

2-2.5 kg of diced beef (braising steak)
1 lemongrass (bash the end of the lemongrass and use it whole)
6 kaffir lime leaves
800 ml Coconut milk
100 ml kecap manis
100 gr palm sugar
2 tsp of salt
1 tbsp vegetable oil
100 gr desiccated coconut
water (if needed)

For Paste
2 large red onion (chopped)
7 candlenuts (can be replaced with macadamia nuts – or ommited for nut allergy)
4 cm galangal
3 cm ginger
10 large red chillies (mild- can be deseeded)
Optional birds eye chillies (to individual taste)
10 garlic

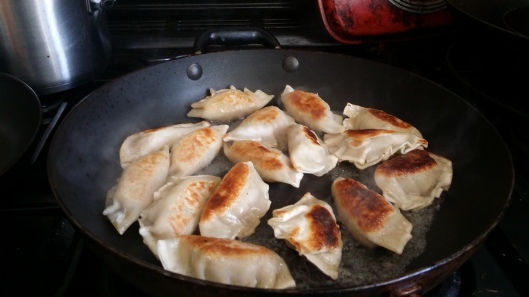
Best eaten with boiled white rice garnished with crispy fried shallots.

How to make it?

1.Chopped “For paste” ingredients small enough for your food processor/ blender/ pestle and mortar. Blend/ pound until smooth consistency
2. Heat pan on stove, when its hot add oil to the pan
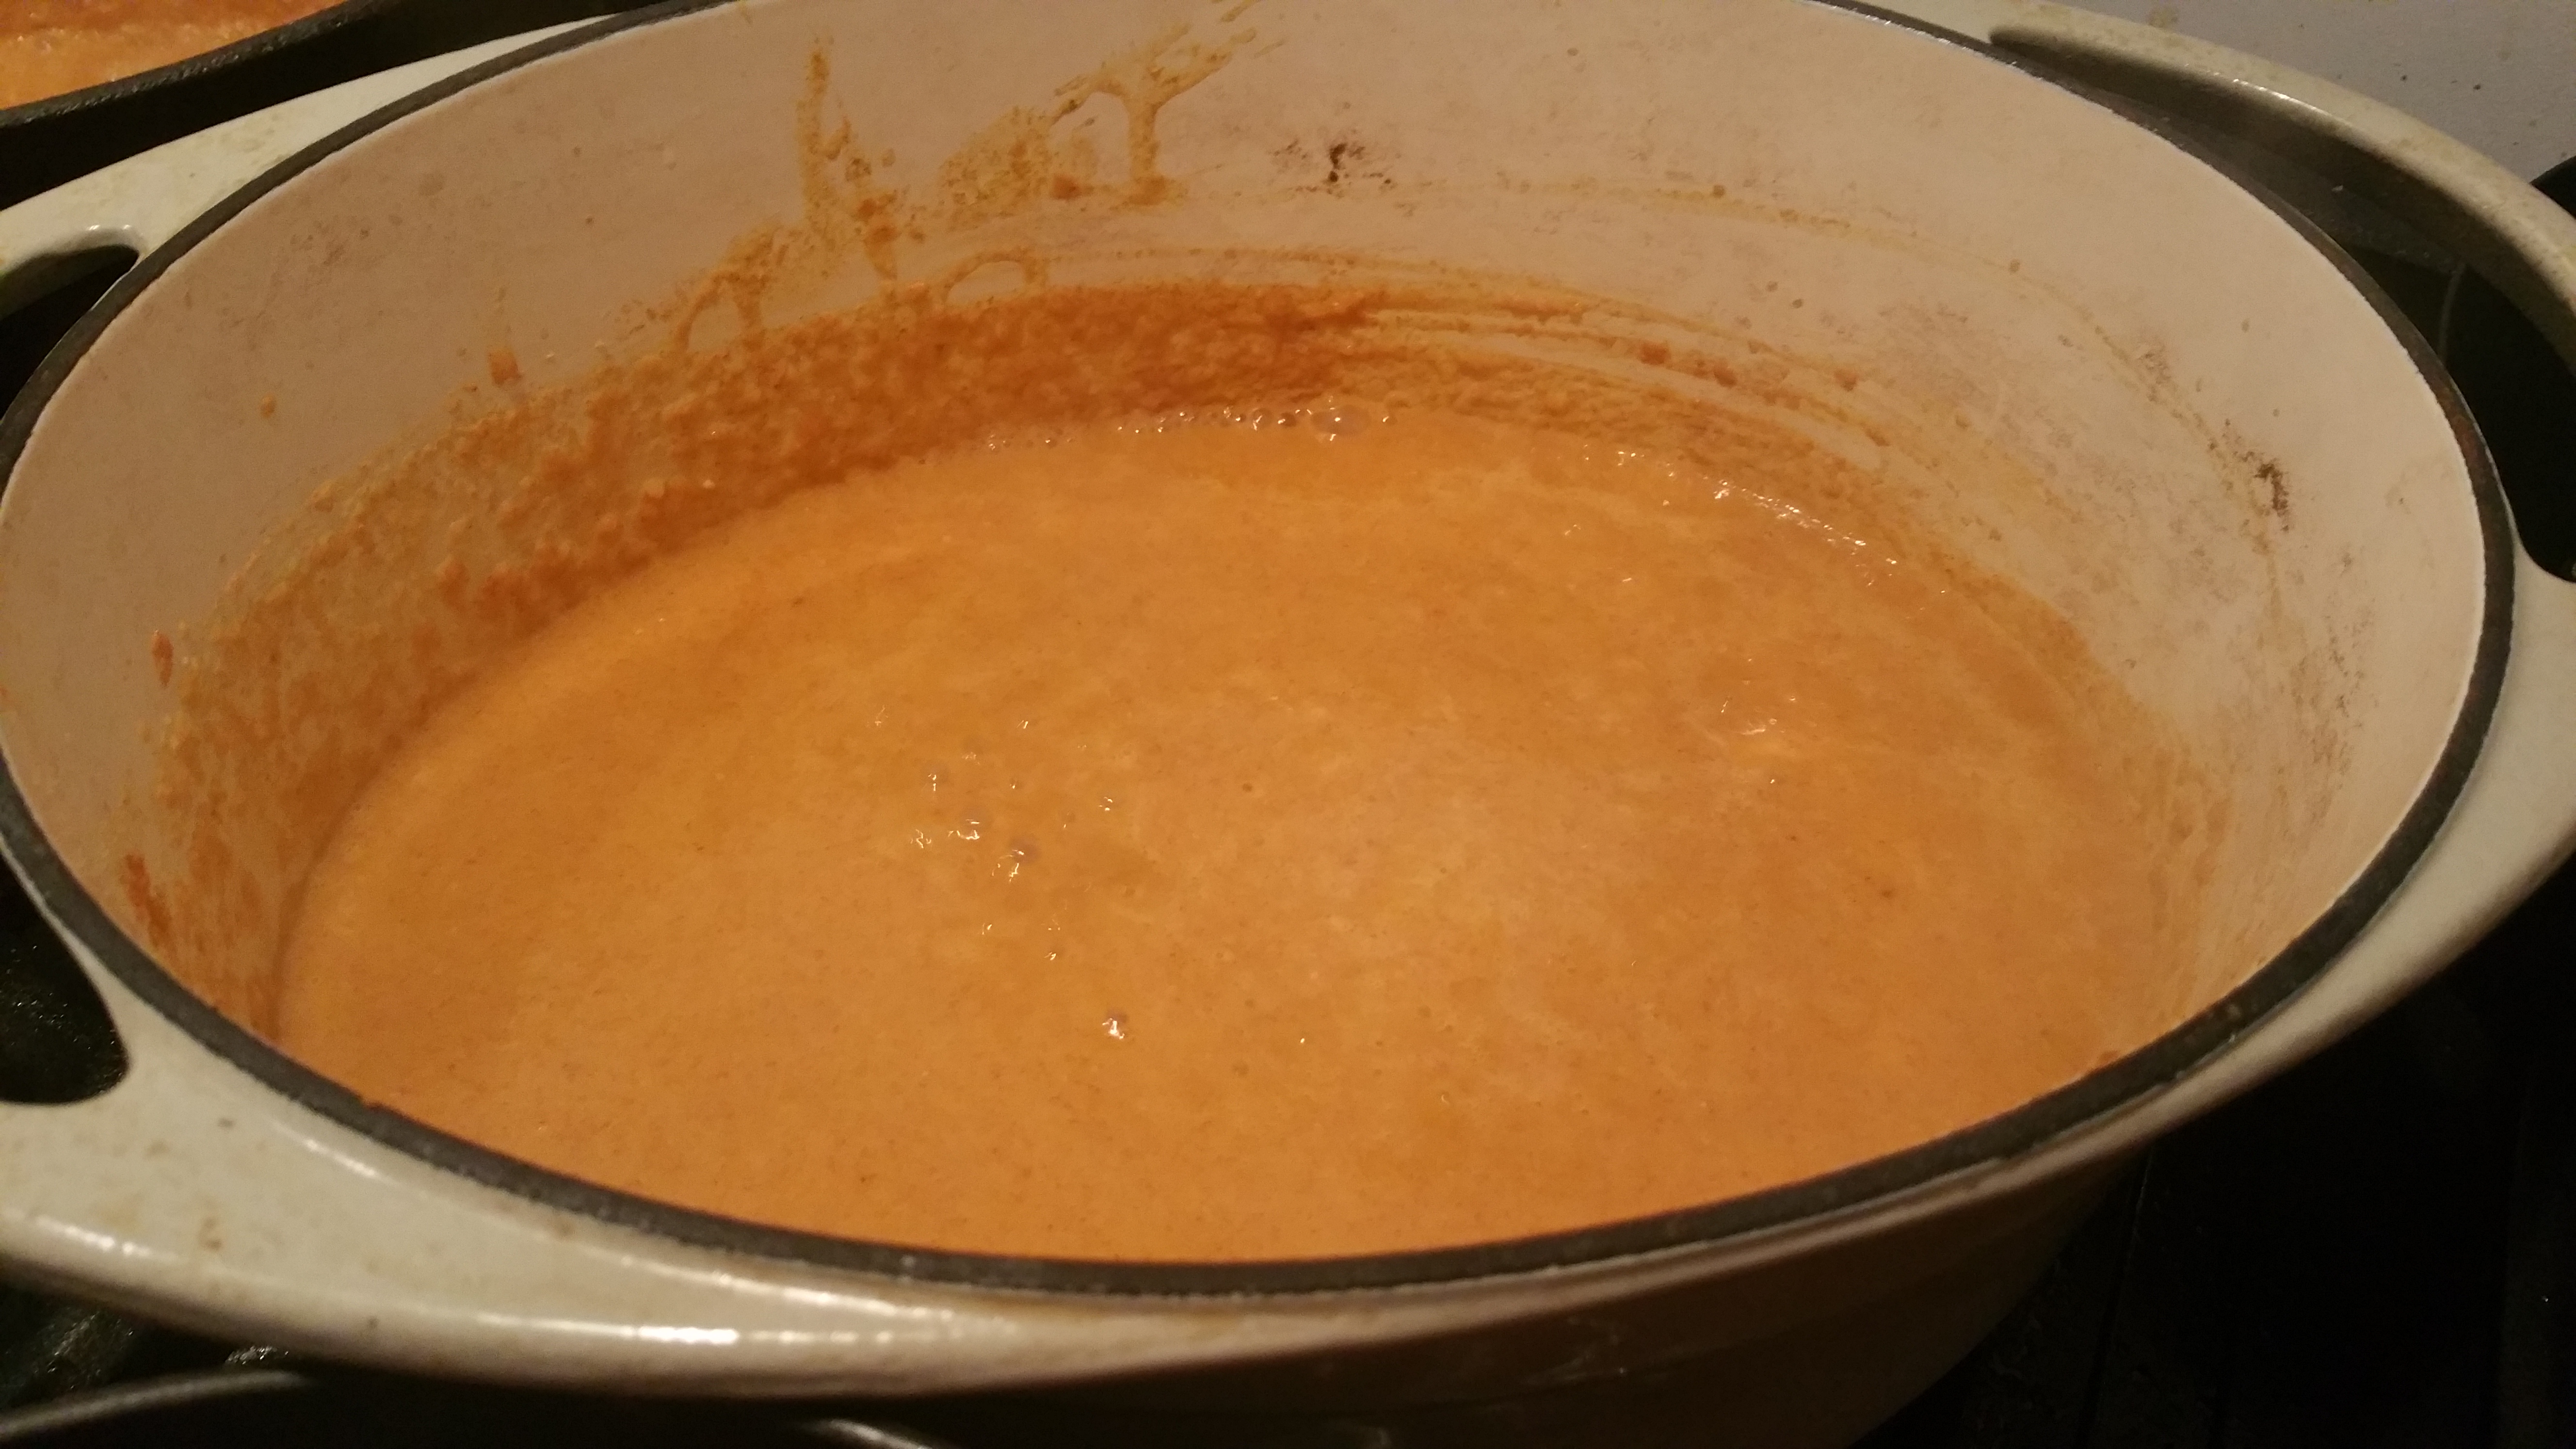
3. Add paste and cook it for few minutes until you can no longer smell raw onion (it will look darker than the pre-cooked paste)
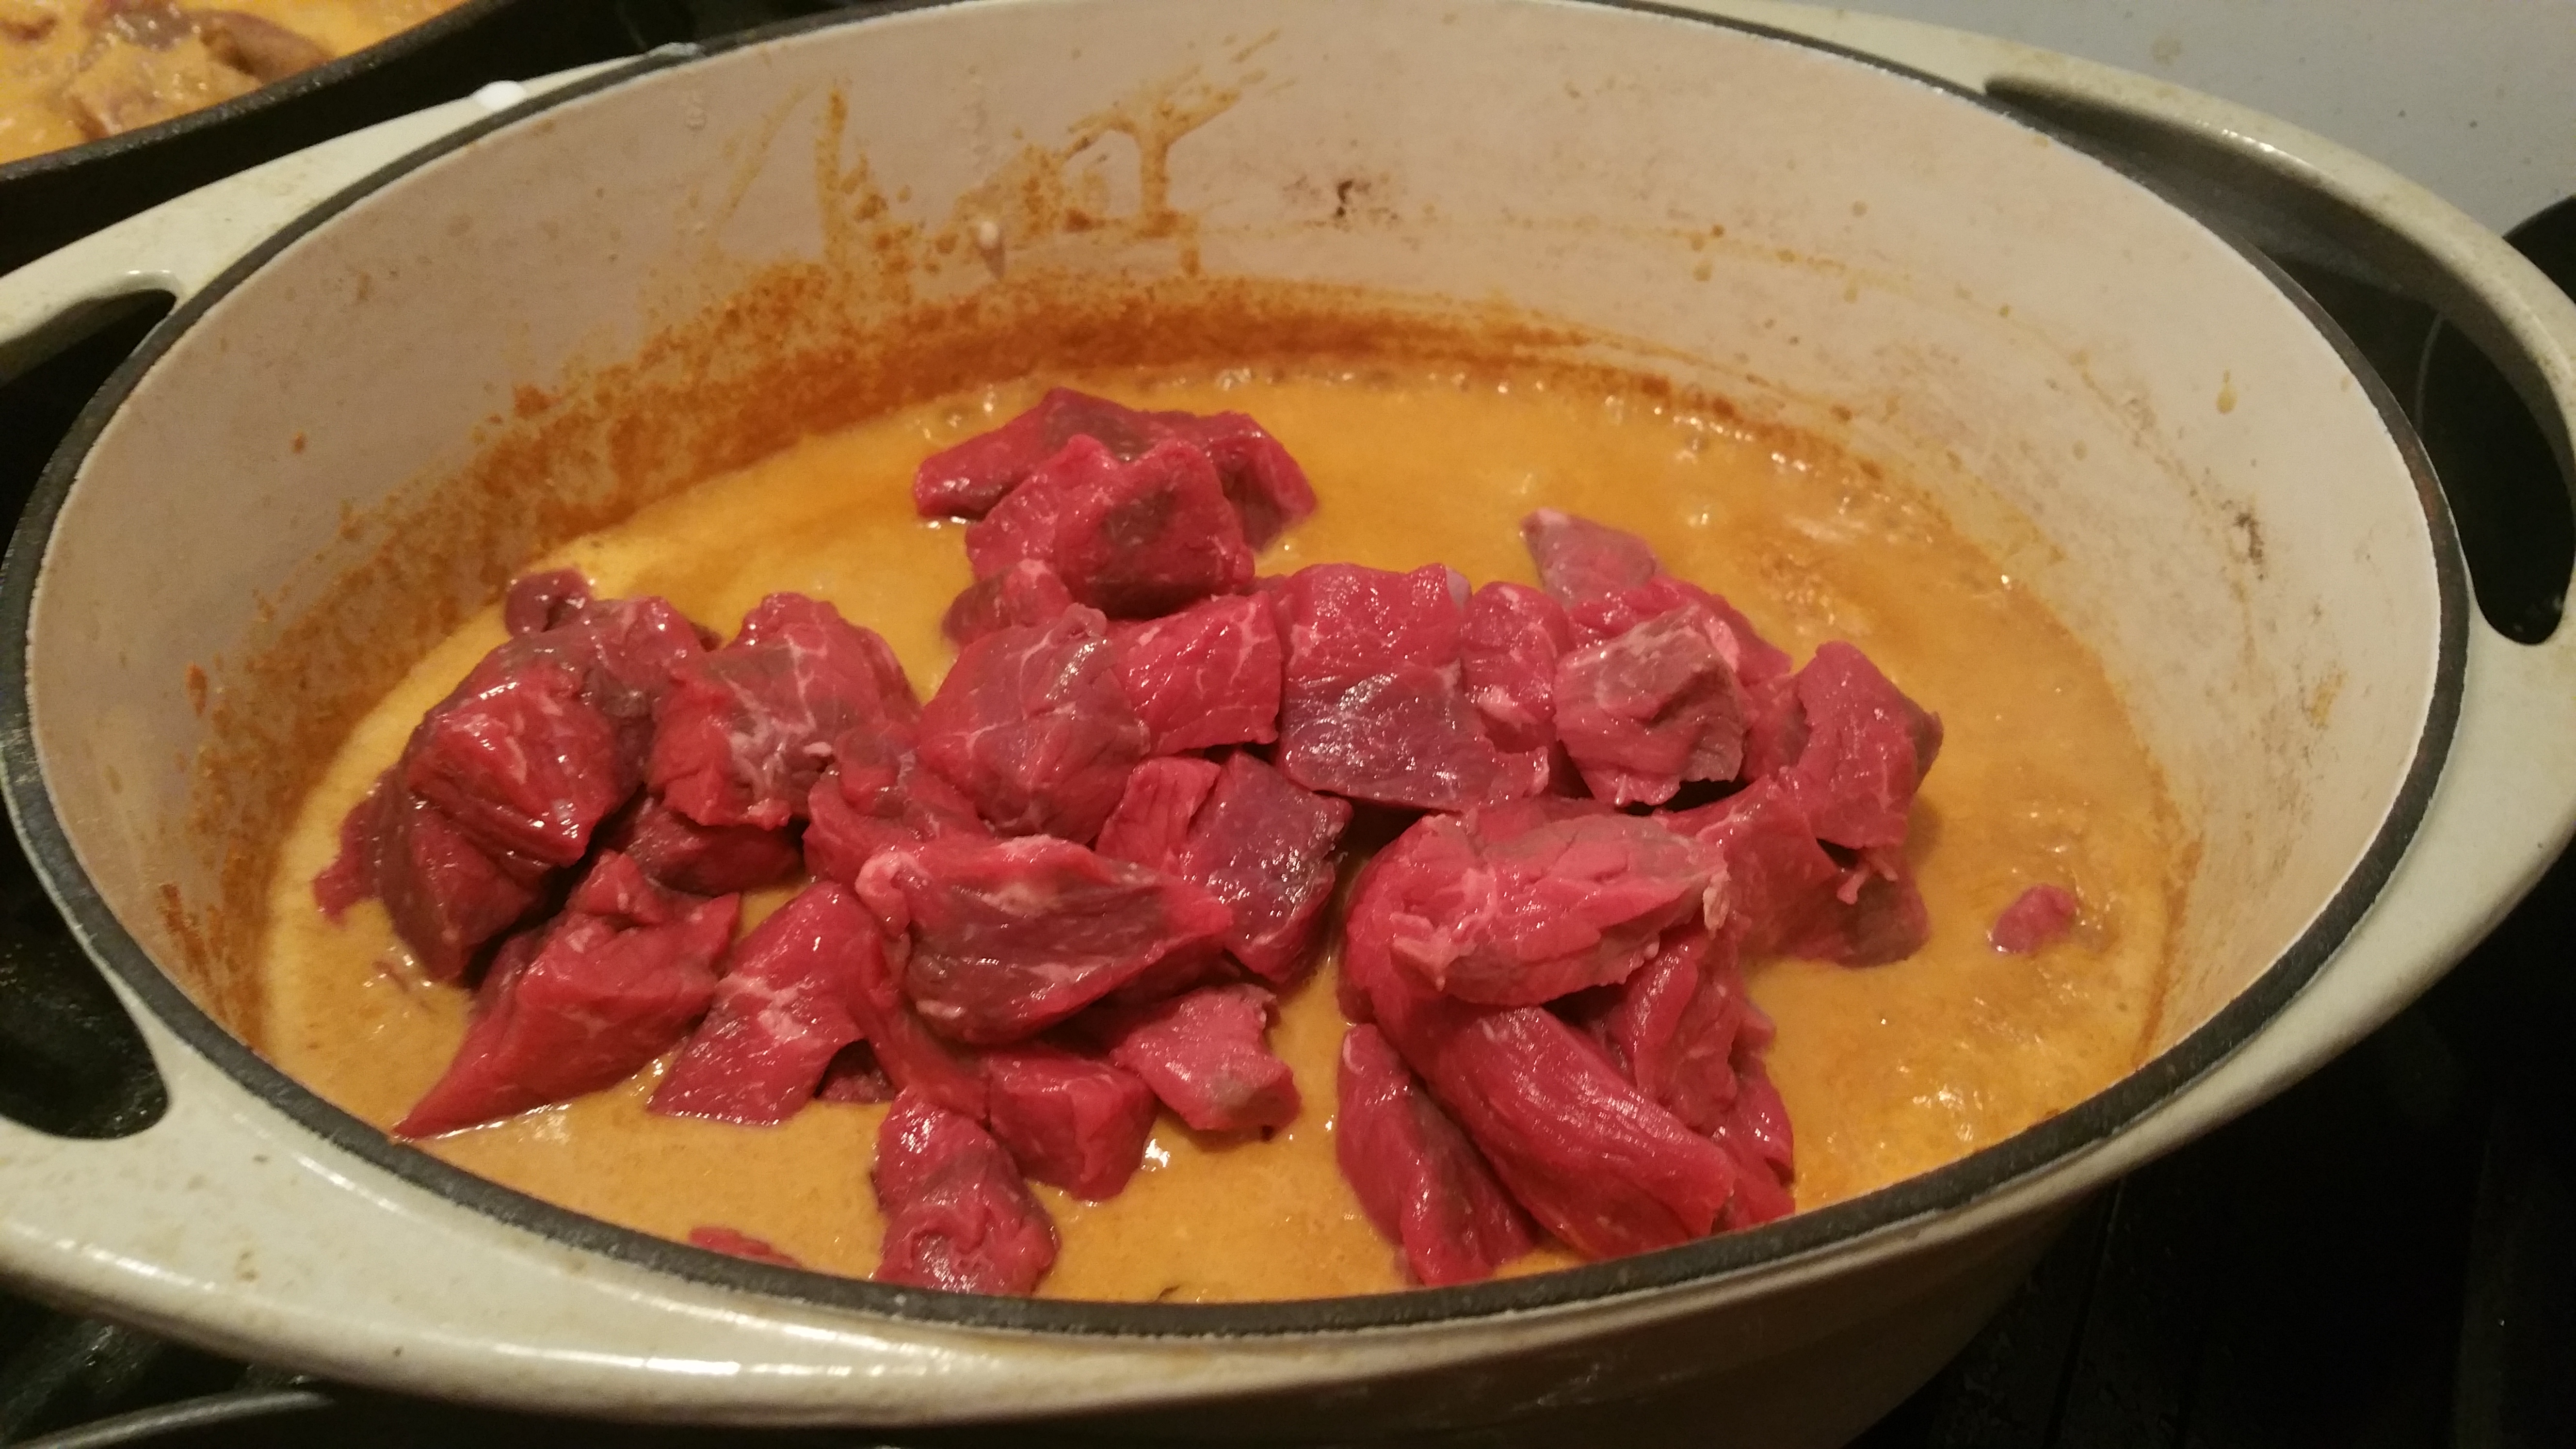
4. Add coconut milk to the pan until it boiled.

20171216_220454.jpg

5. Turn down heat to medium heat, then add diced beef, lemongrass, kaffir lime leaves, kecap manis, palm sugar, salt.

20171216_221332.jpg

6. Stir and cover the pan over medium heat- cook until it boiled
7. Pre-heat oven to 170-degree Celcius (fan oven)
8. Add desiccated coconut to the pan and stir
9. Place pan in the oven with lid on – leave for couple of hours (checking and stirring every 30 minutes)
10. Add water if it looks too dry and the meat does not fall apart as yet.
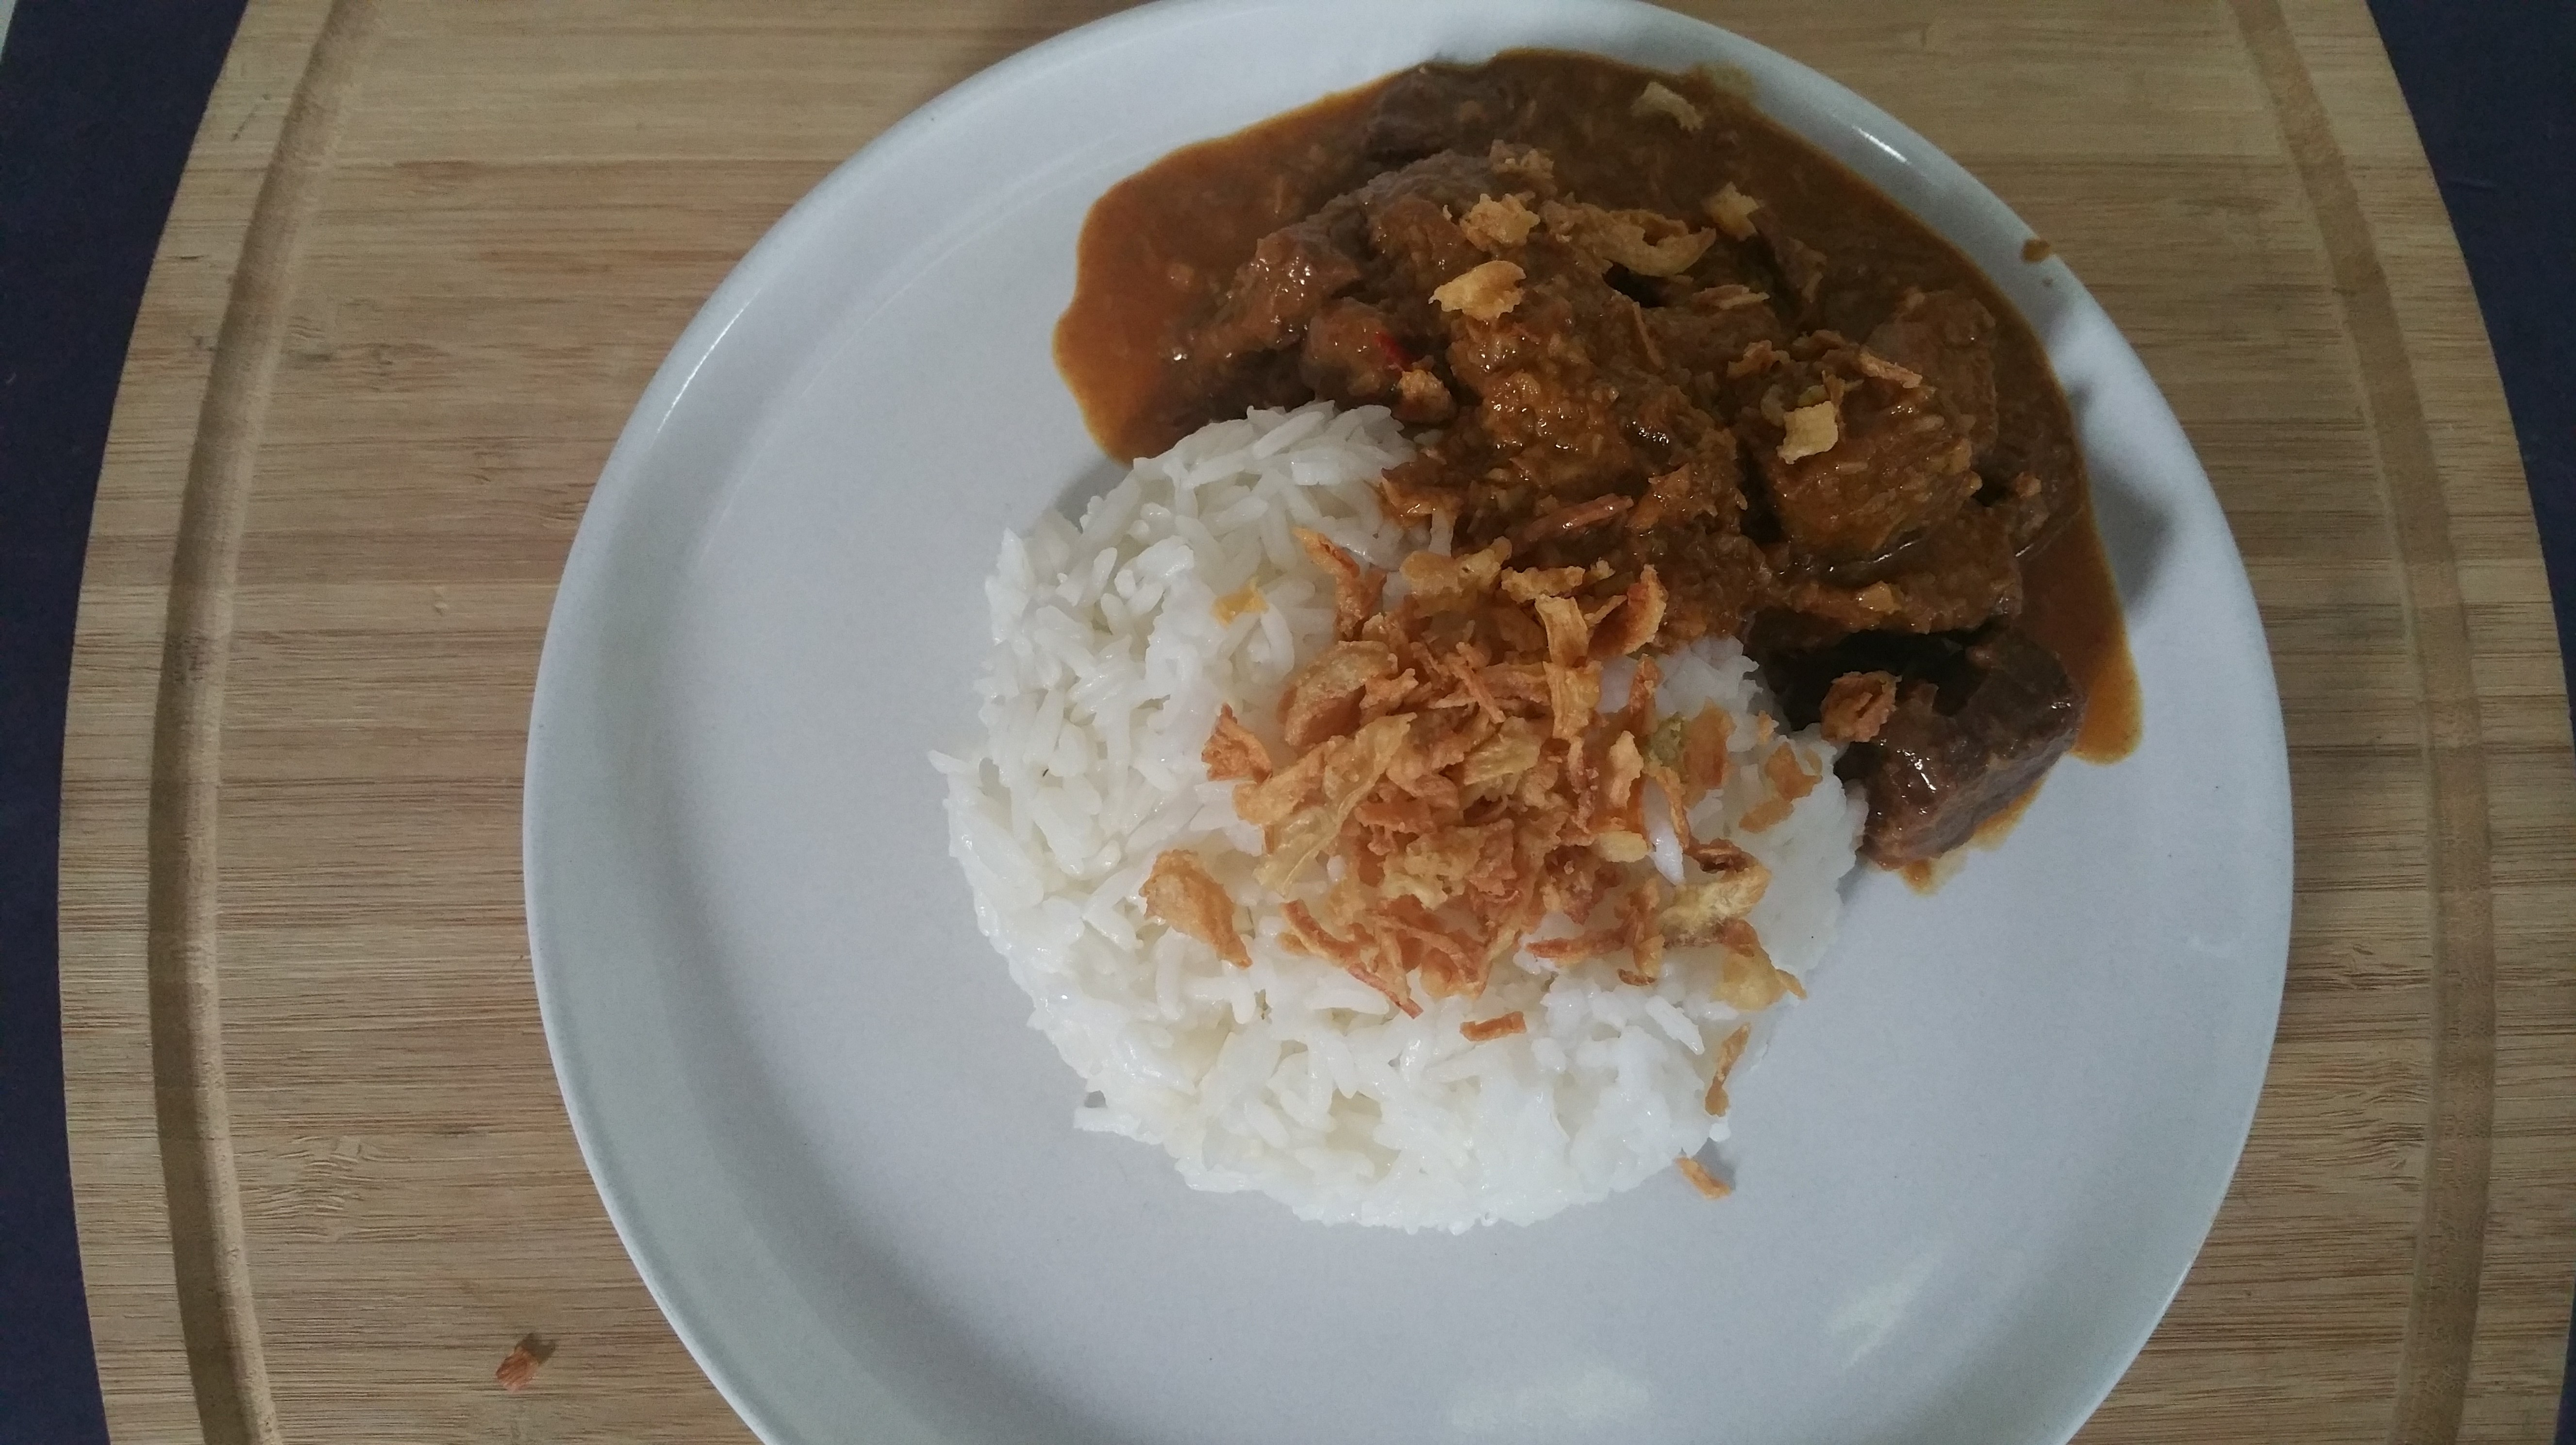
11. The sauce of the dish should be thick and meat should fall apart.

20171217_135331.jpg

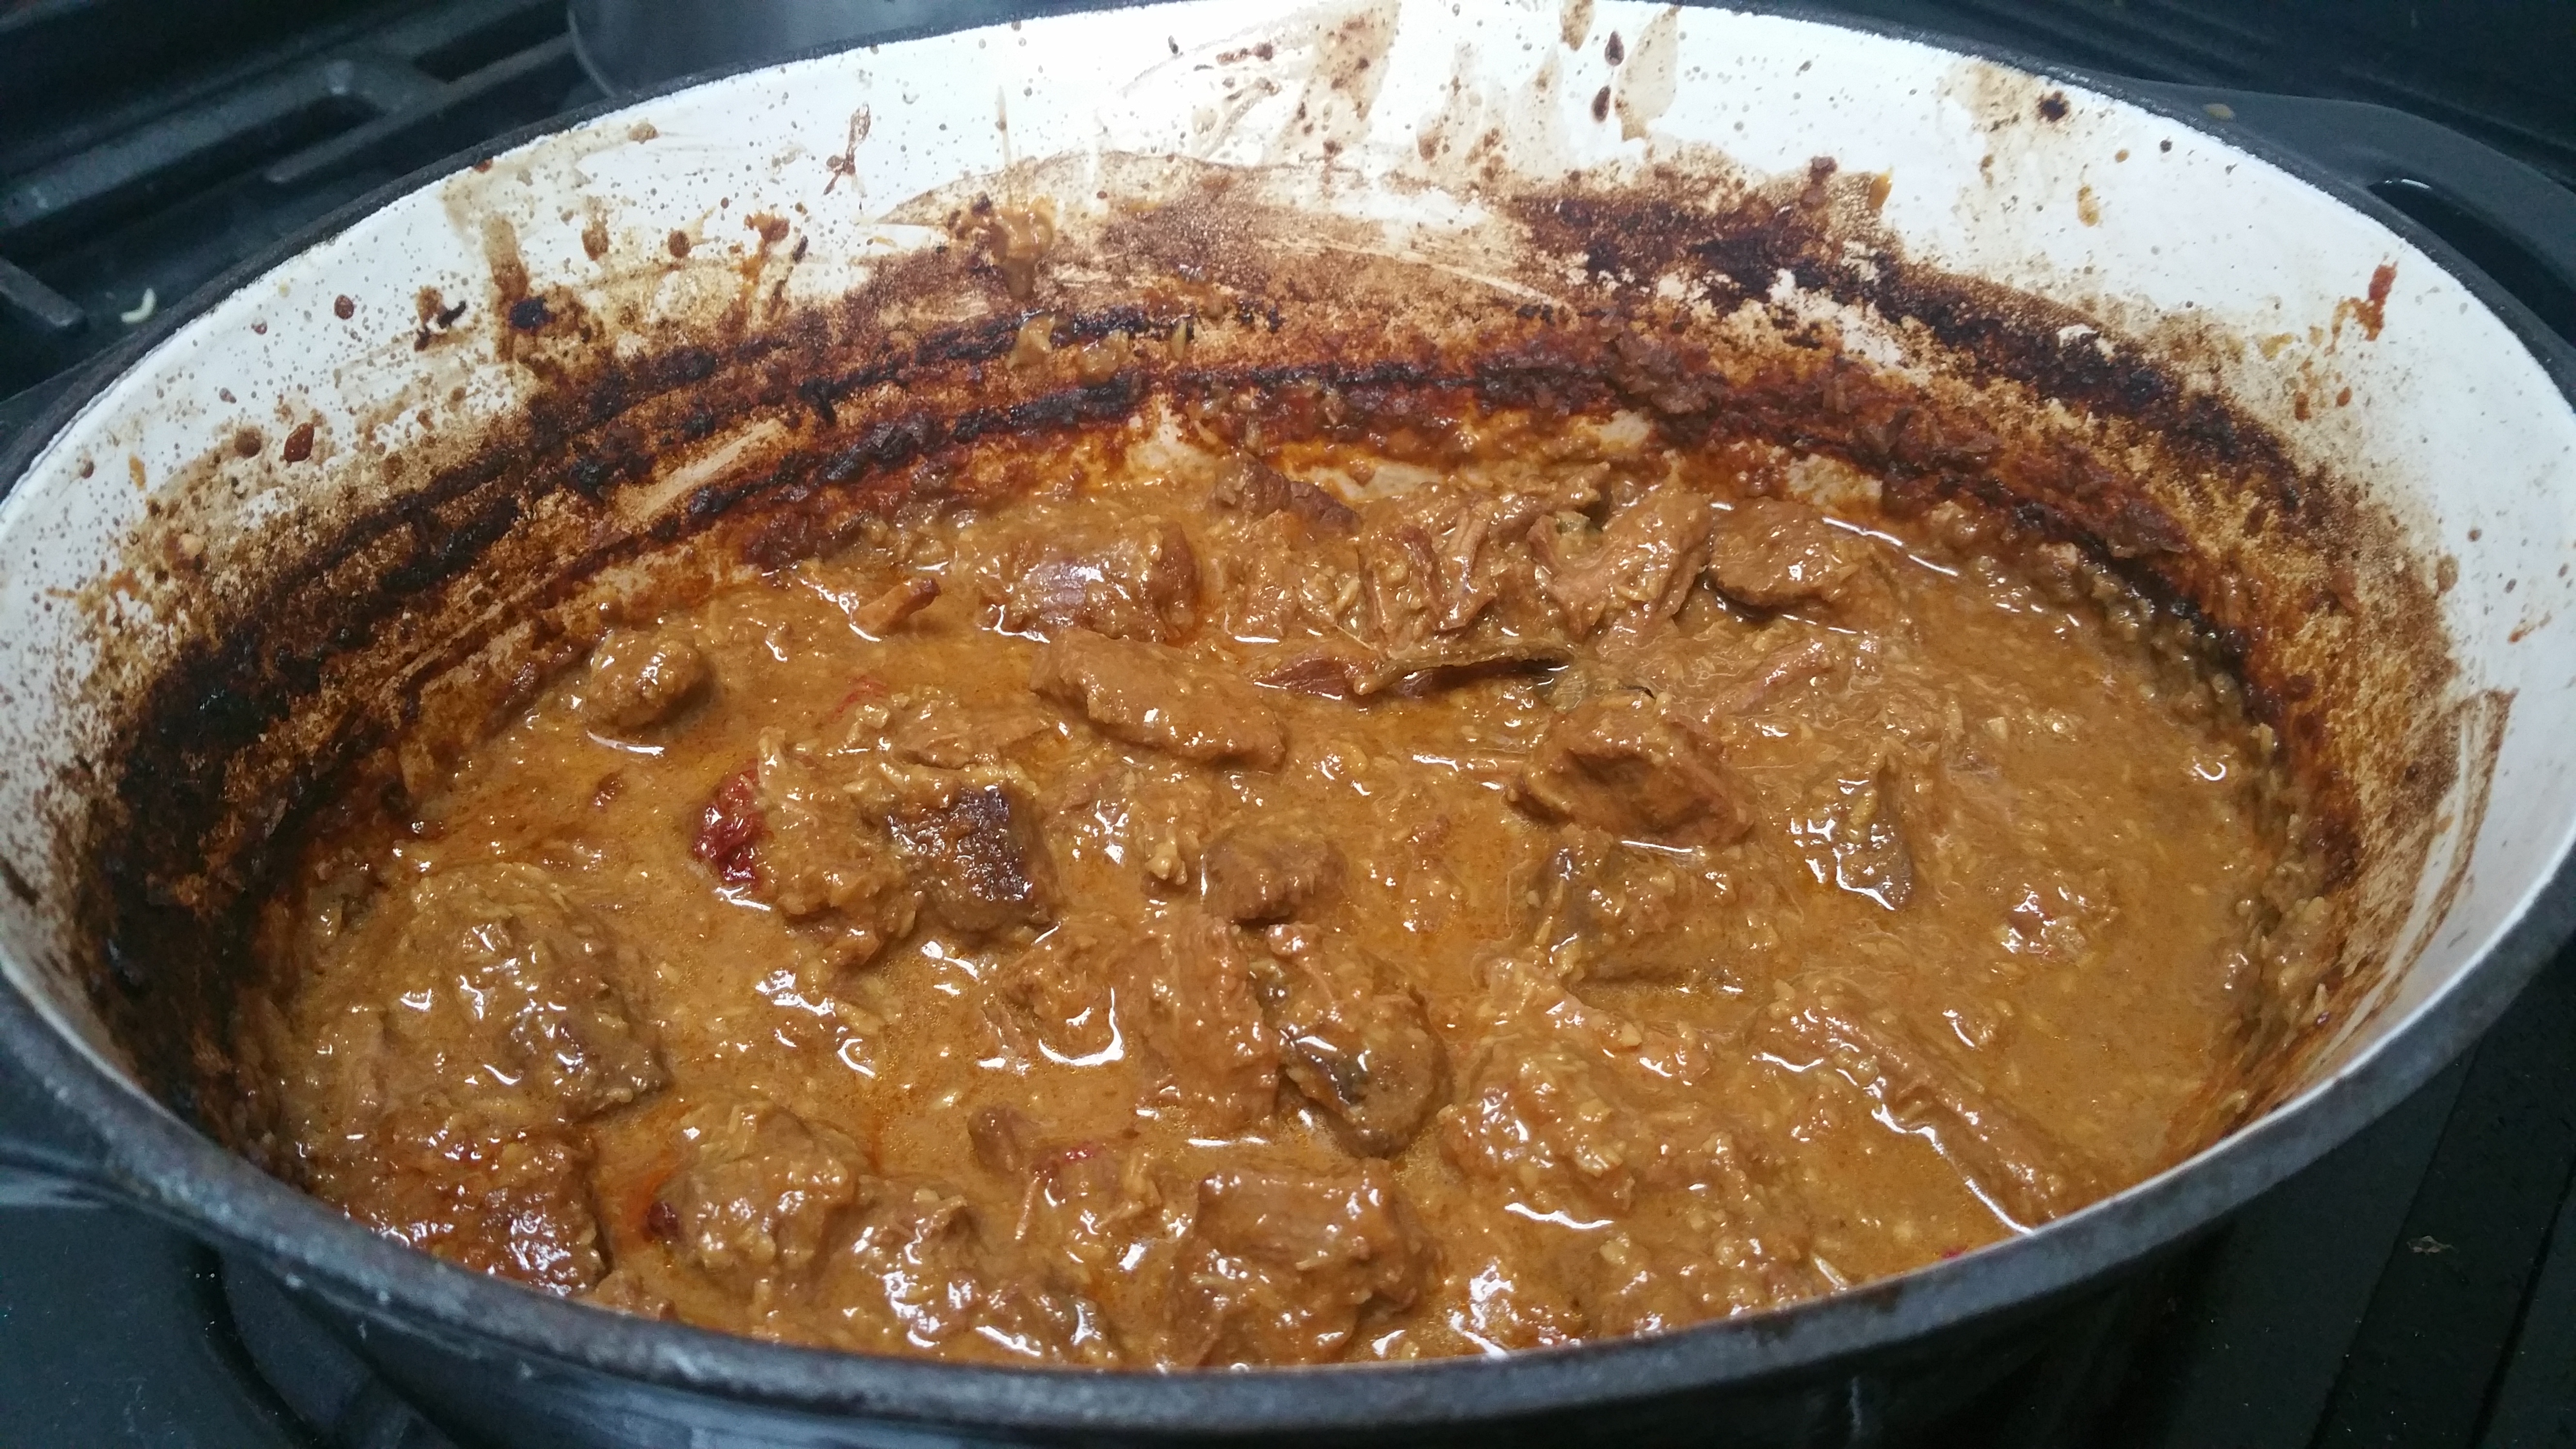
12. Serve with boiled white rice and garnish with crispy fried shallots

Tips: it tastes better the following day 🙂

Due to the amount of effort to cook this dish, I have found that its not worth to cook a small amount. Left overs can be stored in freezer.

—– That’s it, now time to enjoy the food

Beef rendang or rendang daging is associated with Padang, from West Sumatra, Indonesia. In Indonesia, this dish normally spicy (lots of chillies), although I adjusted the recipe to allow it to be mild, additional bird eye chillies can be added to the paste if prefered.

Chicken Bakpao/ steam bun

image

Portion: 8 buns
Cooking and prep time: 2 hours

Tool:
Scale
Steamer
Bowl
Spatula
Pan
8 cupcake papers/ parchment papers

Ingredients:
Steam bun
300 gr plain flour
60 gr corn flour
100 gr icing sugar
1 tsp salt
2 tsp baking powder
2 tsp yeast
175 ml cold water
30 gr butter (white butter if possible but standard yellow butter is fine too)

Filling
1 garlic – crushed
2 shallots or 1 small red onion – chopped thinly
1 spring onion
1/2 tsp salt
1/4 white pepper
300 gr chicken
150 gr raw prawn without shell (optional)
1/2 tbsp oil
1 tbsp kecap manis (sweet spy sauce)*

*) replace kecap manis with
1/4 tsp sugar
1 tbsp spy sauce

How to prepare the dough for the bun?
1. Mix plain flour, corn flour, icing sugar, salt, baking powder and yeast. Remember to keep the salt and yeast in opposite side.

image

2. Mix the dry ingredients well before adding the water a little bit at a time.

image

3. Add butter into the dough and mix it well. White butter will make the buns looks whiter. I used yellow butter in this case hence the dough look more yellow in colour.

image

4. Cover bowl worth cling film or wet cloth.

5. Let the dough rise for around 45 mins or until its double in size.

image

While waiting for the dough to rise, time to cook the filling.

How to cook the filling?
1. Mince chicken and prawn or chopped them really small. Remember they need to go inside the bun.

2. Heat oil in a pan then add onion, garlic. Cook until onion soft.

3. Add mince chicken (and prawn), salt pepper and kecap manis (or soy sauce + sugar)

4. Once meat cooked add spring onion.

5. Let it cool

image

Preparing the bun

1. Boil enough water for the steamer

2. Divide the dough into 8 equal pieces.

image

3. Flatten the individual pieces, add the filling, before gathering the sides to the middle.

image

4. Turn the bun over when placed on the paper. Showing the smooth side at the top.

image

5. Add the buns into the steamer. Make sure to leave space in between the bins so that they don’t stick with each other.

image

6. Steam the nuns for around 30 mins

image

Tips: if you want to freeze them, put the already filled buns (before steaming) in plastic container. Don’t let them stick to each other. Then steam them when you are ready.

7. Enjoy with ketchup or chilli sauce.

Audio

Stir fry + noodle

image

Portion: 2 servings
Prep and cooking time 30 mins

Tool:
Knife
Chopping board
Wok
Kettle

Ingredients:
1 chicken breast
1.5 to 2 tbsp of oyster sauce
Dried egg noodles
1 onion
2 garlic cloves
2 spring onion
1/2 tsp salt
1/2 tsp white pepper
500 ml hot water
1/2 tbsp cooking oil
Various Stir fry vegetables*. In this example I used:
2 carrots
Quarter of cauliflower
1 handful of French beans
1 handful mangetout

*you can choose any stir fry vegetables you like.

How to cook it?

1. Roughly chopped / slice onion and garlic cloves
2. Sliced spring onion from the bottom to the tip (excluding the root)
3. Cut all the vegetables roughly the same thickness and size.

image

4. Slice the chicken into thin strips
5. Boil 500 ml water
6. Heat up wok on high heat until you can see smoke (pan is now hot enough)
7. Add oil into hot wok
8. Add onion and garlic. Stir them constantly to keep them from burning until the onion turn yellow
9. Add vegetables in turn. Always add the hardest vegetable first i.e one that take longer to cook. So in my case; carrot, cauliflower + French beans, then mangetout last.
10. Add 250 ml of hot water, salt and white pepper.
11. Add oyster sauce then stir
12. Add the dried noodles plus further 250 ml of hot water
13. Cover the wok as per the length of time required to cook the noodles.
14. Taste. Add salt if it’s not salty enough and water or sugar if it’s too salty. If it’s too watery then add a teaspoon of cornflour to 50 ml cold water before putting it into the wok.

15. Enjoy.

Balinese Spicy Shredded Chicken

image

Portion: 4 servings
Prep and cooking time: 90 minutes

Tool:
Knife
Chopping board
Blender/ mortar and pastle
Pan with lid

Ingredients:
Paste:
1 red onion
4 garlic
2 candle nuts
1/2 tsp cooking oil
1/2 tsp coriander
2 cm ginger
1/2 tsp tumeric
2-5 large red chillies (depend on your preference)

Main ingredients:
400 gr chicken breast
2 cm galangal
1 lemongrass
2 kaffir lime leaves
1-2 large red chillies (sliced thinly-remove seeds)
1 tsp salt
1 tsp palm sugar
400 ml coconut milk
50 gr toasted desiccated coconut
1 tsp cooking oil

How to cook it?

1. To toast the desiccated coconut: heat up a pan without adding any oil. On low to medium heat add the desiccated coconut. Stir it constantly until its brown. This only take seconds so be careful.

image

Toasted desiccated coconut before and after

2. Add half teaspoon of oil to a hot fry pan and fry the candle nut until brown.

image

Candlenuts before and after

3. Using blender or mortar and pastle, create paste using red onion, garlic, candle nuts, coriander, ginger, tumeric, and chillies.

If you are using blender and found it hard to make a smooth paste then add half to a table spoon of water to help blend thee ingredients.

4. Add a teaspoon of oil into a hot pan on medium heat then add the paste, galangal, kaffir lime leaves and lemongrass into the pan. Cook and stir the paste for 2-3 minutes, making sure the paste doesn’t burn.

image

Paste before

image

Paste after

5. Add chicken breasts and covered them with the paste. Cook under medium heat for 2 minutes before adding 1/3 of the coconut milk.

6. Stir the paste and chicken until all the paste mixed with the coconut milk. Add the rest of the coconut milk bit by bit whilst stirring.

7. Cover the pan and cook the chicken until the meat are cooked under low heat. This may take 20 minutes.

8. When chicken breasts are cooked then take them out to shred the meat.

Shred them by pulling the meat with 2 forks on a plate or chopping board.

9. Once shredded, add the chicken back into the pan and stir to mix it with the paste.

10. Then add chopped chillies, salt and palm sugar. Cook for another 2-3 minutes.

11. Add the toasted desiccated coconut, mix it well and leave it cooking in the pan for 30 minutes or until the mixture dried out.

12. Enjoy with warm plain rice.

Easy cake

Easycake_cake-ready.jpg

This is the easiest cake recipe to remember and make.

Baking time: 40 to 50 minutes

Tools:
Scale
Mixer
Sieve (for flour)
Bread loaf tin
Spatula

Ingredients:
All the ingredients weigh the same.
– eggs
– self-raising flour (sift flour with sieve)
– caster sugar
– salted butter (melted)

plus any filling you want for example: 3 Pears (roughly chopped) or 100 gr chocolate chips, etc.

So for example
3 medium eggs (without  shell) weigh 168 gr

therefore you need :

168 gr sugar
168 gr self -raising flour
168 gr melted butter

Baking directions:
1. Butter a loaf tin and cover the inside with flour

image

2. Heat oven to 180 degrees Celcius (fan oven)

3. Crack 3 eggs into mixing bowl and weight it.  Remember to first weigh the bowl. Now remember the weigh of the eggs (without the bowl), as each of the ingredients will be weighted the same as the eggs.

4. Add sugar to the eggs.

image

5. Mixed well until mixture light in colour

image

6. Add flour and butter and mixed it for few minutes until all ingredients combined.

image

7. Now add your filling such as pear in this example. Mixed well with spatula.

image

image

8. Pour the mixture into prepared loaf tin.

image

9. Put it in the oven for 40 mins.  After 40 mins checked using skewer to make sure the cake is cooked. If not ready (the skewer didn’t came out clean) then keep baking in the oven until its ready.

10. When skewer came out clean, take out cake and put it on warming tray for at least 10  minutes.

image

11. After the cake slightly cooled you can then cut and taste it.

Hope you like this.

Growing lemongrass in UK

I love gardening but I travel a lot for my work so I only grow edible plants that don’t require much maintenance. And lemongrass fit in this category.

Some of my favourite recipes require lemongrass.  I can buy lemongrass in supermarkets or Asian grocery shop, but I love fresh ingredients and gardening so I thought I should try to grow lemongrass.

Last year I grew them from seeds but it takes lots of effort to germinate them and multiple efforts.  I finally managed to germinate 3 seedlings which I then moved to a bigger pot.  They grew really well and I managed to get around 10 lemongrass out of them. I then made a mistake leaving  them outside in winter. 

So I need to start again but not keen growing them from seed again.  So this year I bought some roots from an asian shop : 5 for ÂŁ0.70.

I removed the outer layer (older layer) and cut the bottom of the root.

image

Then put them in a jar or glass of water for 2 weeks in a sunny area and voilĂ …  roots are appearing.

image

Now I just need to trim the top and put them in a pot of soil.  I suggest to grow them in a pot so that you can move them indoors when it gets too cold.

Gado-gado Sauce (peanut sauce dressing)

image

Portion: 4 (if serve as a sauce or dressings)
Prep and cooking time: 60 minutes

Tools:
Pan
Pestle and morter
Blender
Scale
Knife

Ingredients:

150 gr peanuts or ready made roasted peanut butter
(if using on the shelf peanut butter make sure it’s made only of roasted peanuts so no added salt etc)

3 Chillies (for mild but add more if you prefer it hot)

3 garlic
1 tsp salt
1 kaffir lime leaf
1 tsp tamarind paste
1 candlenuts
200 ml coconut milk
50 gr palm sugar
150 ml water

How to make the sauce?

Skip step 1 and 2 if using ready made peanut butter.

1. Fry the peanuts in a pan, medium heat until it’s brown (around 10 minutes). Make sure to keep stirring the peanuts to stop it from burning.

image

2. Cool the peanuts then use the blender to ground them.

3. Make a paste out of chilli, garlic, kaffir lime leaf, and candlenut using pestle and morter.

4. Then with a teaspoon of oil in the pan, fry the paste until it become light in colour.

5. Add the ground peanuts into the pan and mix it with the paste.

6. Add water to help mix the peanuts and the paste.

7. Add the palm sugar and coconut milk.

8. Keep on stirring until the palm sugar dissolved and the coconut milk mixed in.

9. The sauce is ready when the sauce started to boil.

10. Serve as dressings for steamed vegetables as gado-gado or use it as dips.

Basic Chicken Gyoza (dumpling)

Chicken Gyoza

Portion size: 16 gyoza/ dumplings
Prep and cooking time: 1 hour

Tools required:

Bowl
Flat pan with lid
Kettle (to boil water)

Ingredients:

2 garlic
5 spring onions/ scallions
225 gr of chicken meat
1 tsp of soy sauce
1/4 tsp of salt
1/4 tsp of white pepper
1/2 tsp of sesame oil
16 gyoza/ dumpling wrappers
3 tsp of oil
160 ml of hot water (amount varies depend on the thickness of your gyoza/ dumpling wrappers and the amount of filling you put in)
Plus a small bowl/ glass of water (to use to stick the gyoza/ dumpling wrappers)

Optional: 1/4 of Chinese leaf cabbage -this will bulk up the filling mix, so you will need to adjust the seasonings and the amount of qyoza/ dumpling wrappers

Add the following quantity if you are adding chinese leaf cabbage
1 tsp of soy sauce
1/4 tsp of salt
1/4 tsp of white pepper
1/2 tsp of sesame oil


How to make it?

  1. Defrost gyoza/ dumpling wrappers as per instructions provided by the manufacturer.Tips: If you are defrosting them overnight – then do this in the refrigerator so that they don’t stick to each other.
  2. Minced garlic (or you can use garlic crusher) – add it to the bowl
  3. Thinly sliced spring onions – add it to the bowl
  4. If you are using Chinese leaf, chopped them into tiny cubes (if you prefer the leaf to be really soft then you can steam it for 2-3 minutes)
  5. Minced chicken meat (you need it to be really small pieces) – – add it to the bowl
  6. Mix garlic, spring onions, chicken, soy sauce, salt, white pepper and sesame oil
  7. Get a small bowl/ glass of water of water ready near your work area, you need this within your arm’s reach.
  8. For each individual gyoza/ dumpling
    1. add a teaspoon of chicken mixture in the centre of the circle
    2. Using your finger, dab a little bit of water on one half of the wrappers edge
    3. Fold the wrapper to make semi-circle
    4. Pinch the edge of the wrapper to create  the crimpTips: make sure to cover the unused wrapper with damp cloth to prevent them from drying out whilst you are filling the individual gyoza/ dumpling
      Steps to fold gyoza
  9. Heat up the oil in the pan under medium heat, then add the gyoza/dumplings into the pan. It is ok to cram as many gyoza/ dumplings you can into the pan.
    add gyoza to pan
  10. When the bottom of the gyoza gone brown (crispy) – around 2- 3 minutes.
  11. Then add the water  – then put the lid on for 5-8 minutes until the wrappers  becoming translucent. If after the water dried off and the wrappers on the gyoza don’t look translucent add a bit more water before putting the lid back on.steaming gyoza
  12. Serve on its own with chilli sauce, gyoza sauce, or accompanying a plate of white or fried rice.

—– That’s it, now time to enjoy the food

Gyoza is one of those food that you can eat either as snack or main meal. It is deceiving how filling they can be. They can contain vegetables, chicken, beef, prawn, or pork.

Image

Lodeh daging – with cucumber (Beef white curry)

Tags

,

Sayur lodeh.jpgPortion size: 4-6
Prep and Cooking time: 1 hour

Tools required:

Pan (with lid)
Vegetable Peeler (or use knife if you don’t have peeler)
Knife

Ingredients:

1 large onion
4 garlic
3 red chilli (large chillies)
275 gr frying steak
2 cm fresh galangal or 1 tsp galangal powder/ paste
2 cucumbers (medium)
400 ml coconut milk
400 ml water
2 tsp salt
1/2 tsp white pepper
2.5 tsp of palm sugar or 2 tsp of granulated sugar
1 aubergine
1/2 tbsp oil


How to make it?

  1. Sliced onion, garlic and red chillies (de-seeded) thinly
  2. Heat up the oil in the pan and add sliced onion, garlic and red chillies (medium heat), until onion softened.
  3. If use fresh galangal then whack it before you add it to the pan, if paste then just add it along to the pan.
  4. Cut beef into small strips (thin strips) and then added to the pan. Cook until been changed colour.
  5. Peel then cut cucumbers into quarters length ways, remove the core, then slice them 1.5 cm width.
  6. Add cucumber into the pan and stir it with the beef
  7. Peel then cut aubergine into quarter lengthways, then slice it into 1.5 cm width
  8. Add coconut milk and water to the pan, mix it before finally add the aubergine.
  9. Add seasoning; salt, white pepper
  10. Put a lid on the pan and let it cook in medium heat until the cucumber softened.
  11. Serve with white rice

Tips: it taste better the following day 🙂 

—– That’s it, now time to enjoy the food

Derives from a dish under the same name from Java, Indonesia. It was believed that this is eaten in Java as part of ceremony to deter disaster. Javanese sayur lodeh traditionally would use Labu siam (Chayote in English), which I have replaced with Cucumber

Bakpao Ayam (Steamed Chicken bun)

Tags

,

Portion size: Recipe will create 12 Pao (steamed buns)
Prep and Cooking time: 160 minutes (including kneading and proofing time)

Tools required:

Bowl
Scale
Cling film
Cloth
Steamer
12 Cupcake paper or oil paper
Frying pan or a wok
Knife

Ingredients:

Dough

300 gr all purpose plain flour
190 ml milk (from fridge)
40 gr tapioca flour
100 gr icing sugar
7 gr dried yeast
8 gr baking powder
1 tbsp of oil (plus 1/2 tbsp to oil the work surfaces and hand for kneading). You can use any oil that doesn’t have strong taste or smell

Filling

1 chicken breast
2 garlic
1 red onion (medium)
Pinch of salt
1/2 tsp of white pepper
1/2 tbsp of light soy sauce
1/2 tbsp of sugar
1/2 tsp of oil ( you may need another 1/2 tsp if you are not using non-stick pan)
3 tbsp of hot water

How to make it?

 Filling 

Tips: I suggest to do this after step 2 or 3 rather than at the start of the cooking/ prep time, whilst proofing the dough. But there is no harm to do it at the beginning if you want to.

1. Mince the chicken meat or chopped them into small pieces (they will need to go inside the pao (buns)

2. Mince garlic and red onions

3. Add 1/2 tsp of oil in the pan, when it’s hot add the onion and garlic into the pan. Cook them until it’s soft then add the chicken.

4. Seasoned it with soy sauce, white pepper, salt and sugar. When it’s cooked add hot water into the mix. Then let it cool before adding them to the buns.

Dough

1. Add 225 gr of plain flour (the rest of the flour will be added later) to a bowl and mix it with yeast and milk. Leave it in the bowl covered with cloth for 10 minutes.

2. Now its time to knead it. The mixture will be wet, so don’t worry about it. Knead it for around 10 minutes (until the mixture feels elastic). Put it back in the bowl and cover with damp cloth for at least 30 minutes.

Tips: To help with the knead put some oil (around 1/2 tbsp) over the work services, rub it out by hand to cover the area – this will also result in some oil on your hand, which would help stop the dough from sticking to your hand.

2. Add the rest of the plain flour (around 75 gr), tapioca flour, icing sugar and baking powder to the bowl. And mix it to the dough by hand. It may feel that there are too much dry ingredients added to the dough, but don’t worry keep on mixing it by  hand. When the dough mixture feels less wet, scoop it out of the bowl with the remaining dry ingredients left in the bowl and knead them on the work surfaces until all the flour, sugar and baking powder mixed in the dough.

3. Now time to add 1 tbsp of olive oil into the dough. Knead the dough until all the oil mix together (around 10 minutes). Put it back in the bowl for at least 25 minutes (cover it with cling film). Now make your filling

4. Scoop the dough out of the bowl, and divide it into 12 dough balls. Cover them with cling film and let it rest for another 10 minutes.

5. After they rest, grab each dough balls and flatten it in the palm of your hand. And add the filling into the centre of the dough. Gather the sides of the flatten dough balls to the middle to wrap the filling. Then turn the dough balls upside down (the smooth side at the top and put the dough balls into the cupcake paper. When all the dough balls are filled, let them rest for another 30 minutes.

6. Arrange the dough balls into the steamer, making sure there are enough space for the dough to raise in the steamer. Cook for 15-20 minutes until it feels firm and bouncy when touched.

7. Serve them hot. If you like you can also serve it with chilli sauce 🙂

PS: The colour of your Pao (steamed buns) would depend on the colour of your flour and oil that you use. So it may not look white (like chalk), so don’t worry if it looks slightly yellow-ish in colour.

—– That’s it, now time to enjoy the food

Every time I eat Bakpao, I remember when my parents used to reward (read: bribe) me with these, for good behaviour. In Indonesia there are different fillings that you can choose from; chicken, beef, beans.